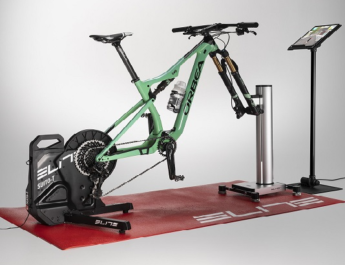
Share the post "How to adjust your bike fit"
By Guillaume Judas – Photos: 3bikes.fr / PEdALeD / All rights reserved
=> THE REST OF OUR FEATURE, with The benefits of a professional bike fit.
Let’s start with an obvious point: adaptations are always possible, but you must first start with a bike of the right size. Things are even more complicated for the novice because some bikes are sized like clothes (XS, S, M, L, XL) and others are sized according to the seat tube height (49, 51, 53, 55, etc.). However, the top tube length is the most important, because it is easy to adjust a saddle height, and more difficult to adapt a length. As for experienced riders, they tend to refer to the head tube height, as this affects the cockpit height, with few possibilities to modify it.
An empirical way to select the right frame size is to measure your inseam and multiply this value by 0.66. This is primarily a rough estimate, as modern frames are rarely straight and often have a sloping top tube. Fortunately, manufacturers usually provide the virtual frame height, which you can consult in the geometry chart of the model you are interested in. This is a tube height as if the frame were straight.
| How to measure inseam length? This value, which serves as a reference for many theoretical adjustments, is not so easy to determine. Firstly, because it relies on a measurement of soft tissues. Indeed, it is not easy to know what pressure to apply. Here’s how to proceed: stand against a wall, in cycling shorts, with both heels roughly at crank width and pressed against the bottom of the wall; then slide a broom handle or any other tube long enough to check its horizontality between your legs and raise it to the top of your inseam, applying sufficient but not extreme pressure; then mark the handle on the wall and measure the distance from the floor. This is not a totally precise measurement, but it is a good starting point. |
Everything starts with the foot
It is from the adjustment of the cleats under the shoes that the adjustment of the other elements is determined or checked. This seems logical, because a cleat is the only interface – relatively fixed – in contact with the pedals, and that is rotated thousands of times during a ride.
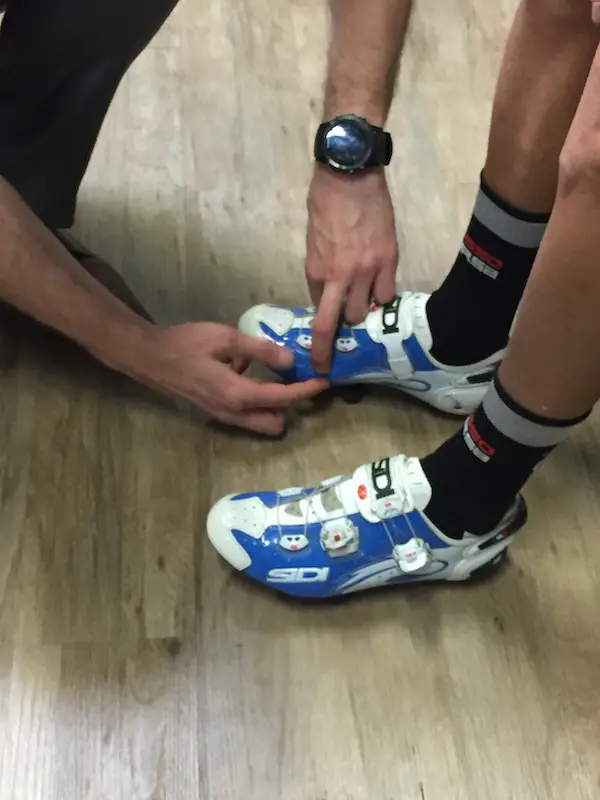
The first rule to follow is to mark the joint of the big toe on the inside of the shoe, and the joint of the fifth toe on the outside. Then, you draw a line between the two points, and it is in the middle of this line that the center of your cleat (which represents the pedal axle) should theoretically be placed.
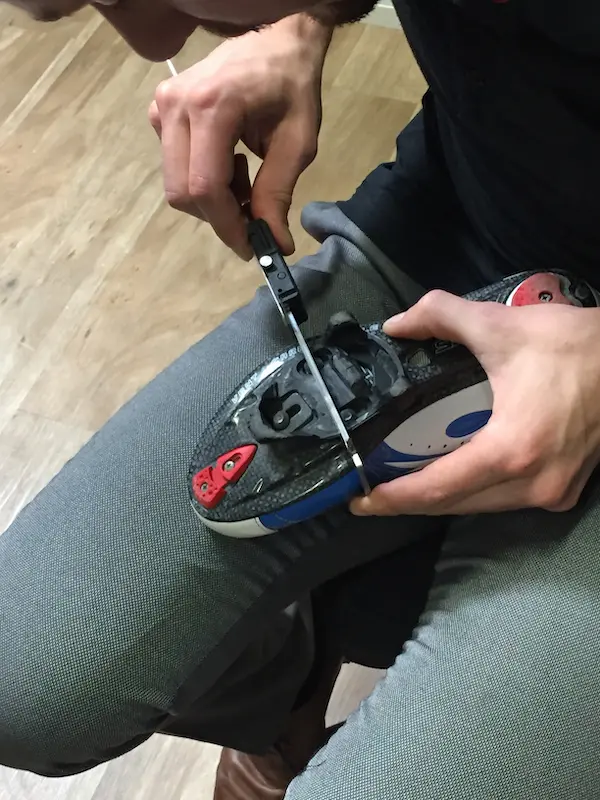
Depending on the arch of the shoe or your pedaling style, you can move the cleat back a few millimeters, but no more. If the cleat is too far forward towards the middle of the sole, the entire articular chain of the legs (ankle, knee, hip) risks being restricted. Conversely, if the cleat is too far forward, you gain mobility but lose power. A compromise must be found by trial and error, but always by modifying millimeter by millimeter.
To adjust the orientation of the cleats, sit on a table with your knees at a right angle and your legs dangling. Note the natural orientation of your feet, and try to reproduce this position relative to the cranks by orienting the cleats under your shoes. For the spacing, if possible, respect the natural alignment between the hip, knee, and ankle. Some pedals or shoes limit alignment possibilities, especially for those with wide hips. In this case, you may need to consider a pedal brand that offers an extended axle option.
Generally, each pedal brand has its specificities: you will find cleats with more or less lateral or angular float. Avoid completely fixed cleats if you suffer from joint pain.
Saddle choice
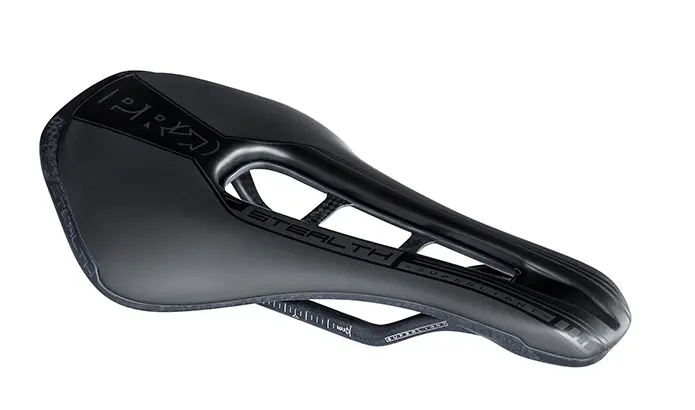
For good support and to avoid pain, choosing a suitable saddle is also fundamental, starting with adopting the correct width. But you will find more information here.
Saddle height
Saddle height is measured between the bottom bracket axle and the top of the saddle, at its lowest point, or in line with the seat tube. This is a somewhat vague measurement, and it depends on your own references. Get down to saddle height to measure it to the millimeter, but the ideal would be to have a jig, like the pros, to precisely adjust this value. If you have two bikes and want to set them up identically, there’s nothing stopping you from using other fixed points as a reference, such as the top of the large chainring (provided they have the same number of teeth) and the saddle rails.
Saddle height affects mechanical efficiency, as well as comfort over all types of distances.
Saddle height affects mechanical efficiency, as well as comfort over all types of distances. A good method for finding saddle height is to multiply inseam height by 0.885. You can make some adjustments to this theoretical value, in the order of 10 to 15 mm, depending on the arch of the shoes, the thickness of the soles, shoe size, your flexibility, or the level of foot engagement on the pedal.
With moderately arched shoes, you can perform a simple check: by placing your heel on the pedal, your leg should be fully extended, with a very slight hip sway when pedaling. A saddle that is too high risks causing joint injuries and limiting your ability to spin your legs quickly. A saddle that is too low causes a loss of power, while creating tension in the knees.
Saddle setback
In addition to saddle height, saddle setback relative to the bottom bracket axle is also a factor to consider, while keeping it in perspective. Taking into account the seat tube angle, it can be understood that the higher the saddle is raised, the further back it moves relative to a vertical line passing through the bottom bracket axle. The two adjustments are therefore linked, so it is likely that you will have to readjust the height after setting the setback. A very good approach is to use a plumb bob, or at least a long string with a weight. With the cranks horizontal, sitting well on the saddle, the plumb bob passing over the top of the kneecap should fall directly above the pedal axle, or slightly behind it. An academic adjustment that ensures correct pelvic stability during pedaling and facilitates the passage of the top and bottom dead centers of the pedaling cycle, but also ensures a good compromise between the use of the anterior and posterior leg muscles.

Be careful, because a significant setback relative to the seat tube, i.e., a very rearward adjustment relative to the tube, seatpost, and saddle rails, virtually increases the frame length, and thus the distance between the saddle and the cockpit. For good stability, to avoid sliding forward, and to limit the risk of perineal injuries, the saddle should be adjusted perfectly horizontally to the ground, with a spirit level if possible, and even with the nose very slightly downwards in the case of a “shifted” forward setback as seen above.
| Easy saddle setback check To easily check your saddle setback (for example, if you have two bikes) and to avoid the tedious plumb bob operation every time, simply place your bike against a door frame (assumed to be straight), with the door jamb against the center of the bottom bracket axle. Then measure, albeit with relative precision, the distance from the same door frame angle higher up to the nose of the saddle. This helps to avoid major errors. |
The cockpit
Finally, to enable you to ideally distribute your weight among the three support points—saddle, pedals, and handlebars—you must adjust the cockpit position. You can modify three elements, depending on the saddle position and frame geometry: the stem height relative to the head tube (an adjustment limited by the head tube size—hence the importance of frame choice—and by the fork steerer tube cut), the stem length, and the handlebar shape.
=> SEE ALSO : Handlebars and stem, how to choose?
The correct distance between the saddle and the cockpit should allow you to grasp your handlebars in several positions, whether hands on top, hands on the hoods, or hands in the drops. The reference position is when your elbows are at knee height in a speed-seeking position with your hands in the drops. Stems are available from 80 to 140 mm long, but also with different angles, which also affects the height. As for the handlebars, they can be higher or deeper depending on the model. If you cannot reach the drops, it means they are too deep, or the stem is too long.
As for the height of the cockpit, it is determined based on a compromise between comfort and aerodynamics. Do not set the handlebars too low if you cannot grip them. To avoid some tingling in the palms of your hands, you can slightly angle the bottom of the handlebars upwards. Also try to slightly raise the brake/derailleur levers on the handlebars, as this allows you to relax and de-stress your upper body by simply resting your hands on these rests in a normal riding position. These are easy adjustments to make, even before investing in a new stem or handlebars.
Crank arms
Finally, the most discerning riders will be interested in crank arm length, generally supplied in three different lengths with production bikes: 170, 172.5, and 175 mm depending on the bike size. However, it is possible to equip with 165, 177.5, or 180 mm crank arms from some manufacturers. Given the number of pedal rotations during a ride, one can understand the influence of plus or minus 2.5 mm of length to optimize mechanical efficiency. Crank arms that are too short for a given inseam, flexibility, or strength limit pedaling power. Crank arms that are too long limit the ability to spin the legs quickly and can cause joint or muscle injuries. Therefore, it is necessary to proceed by trial and error, and only make modifications in 2.5 mm increments. The goal is to have the largest possible leverage arm without altering flexibility and cadence. In this area, only experience counts, as there is no absolute rule.
=> THE REST OF OUR FEATURE, with The benefits of a professional bike fit.
=> SEE ALSO : All our Coaching articles
Share the post "How to adjust your bike fit"